Overview on the Stage
The Stage is the home page of the Factory, where you can build and compute flows.
From the stage you can also view and edit all the elements that make up your flow, such as alerts and variables, and add graphical elements.
Stage layout
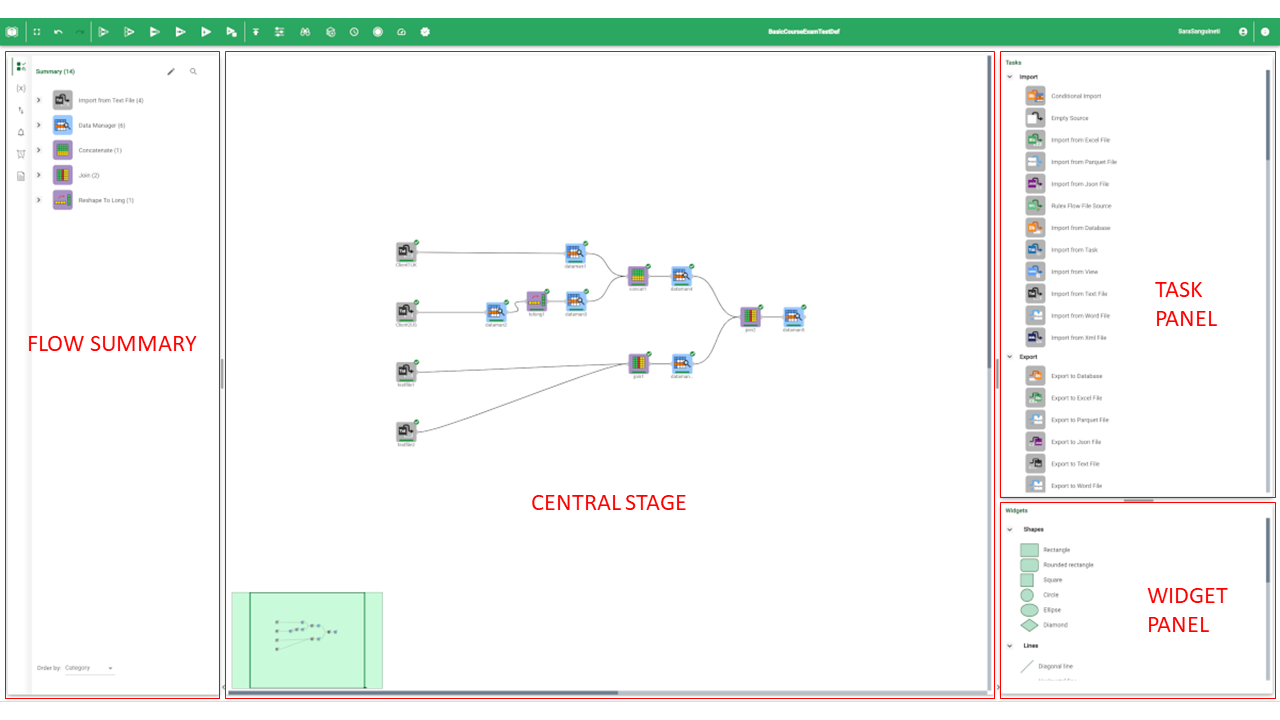
The stage is divided into:
a main central canvas, where you build your flow.
the flow summary panel, on the left, which contains information on the current flow. It is further divided into the following tabs:
Summary: where you will find all the tasks used in the current flow.
Variables: where you will find all the variables set in the current flow.
Priorities: where you can set the priorities for the task computation.
Alerts: where you will find all the alerts set in the current flow.
Events: where you can create events from scratch by writing the code, or from a saved macro.
Documentation: where you can export an auto-filled documentation, which reports all the operations made in the current flow. You can also manually add comments to it.
the task panel, on the right, which displays all the tasks included in your Rulex package. From this panel you can drag tasks onto the stage, adding them to your flow
the widget panel, on the right, below the tasks. Widgets can also be dragged onto the stage to enrich your flow with graphical elements.
They both have a central management purpose, as they provide you with all the elements needed to build flows and to make them work effectively.
Moving around the central stage
You can move around the central stage in two main ways:
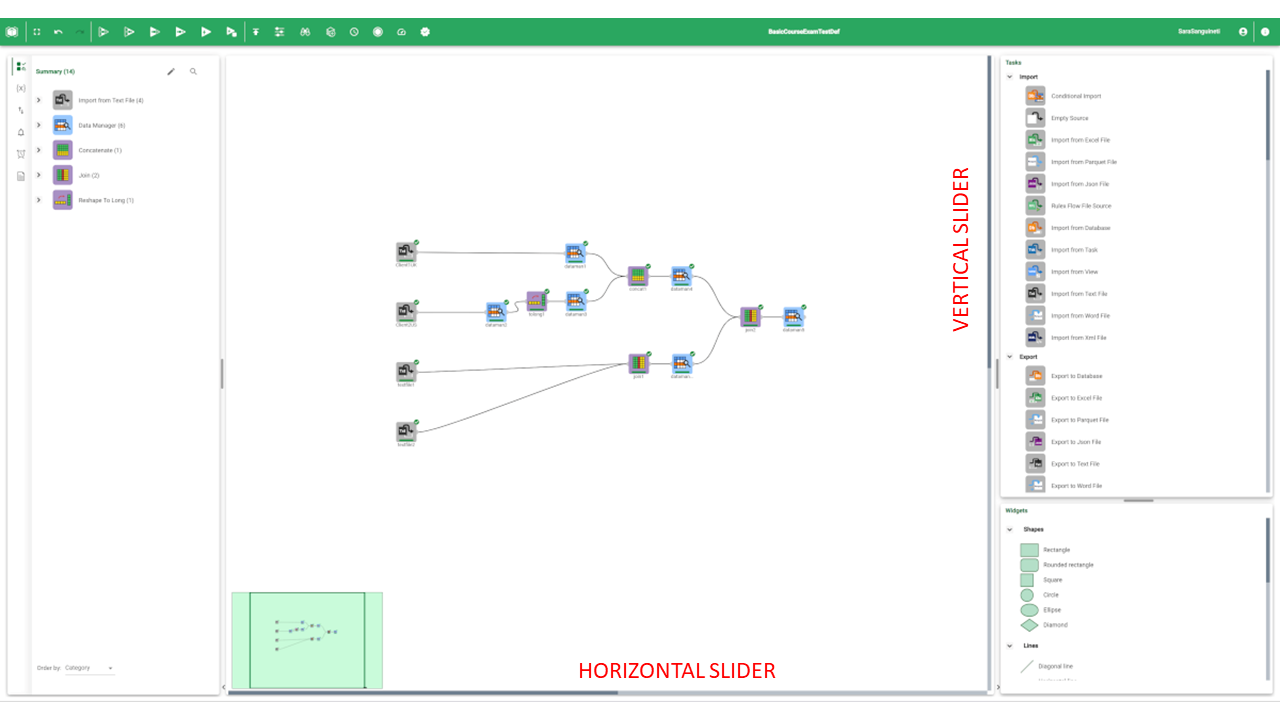
By using the horizontal and vertical sliders placed around the canvas
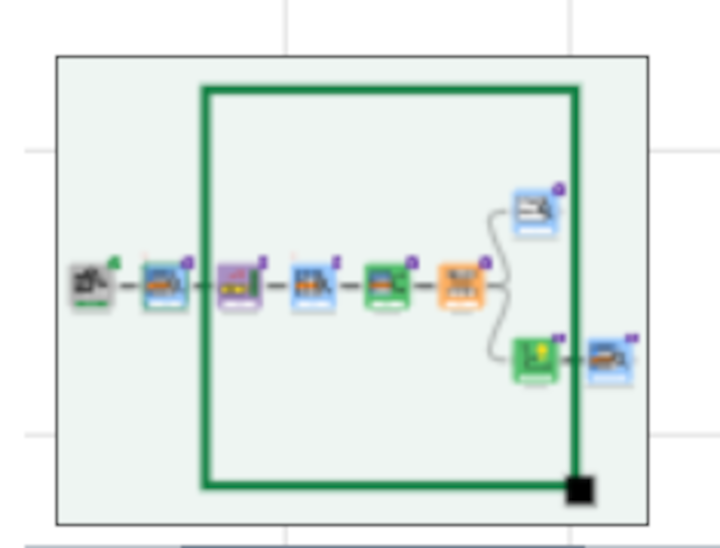
By using the map tool in the bottom left-hand corner of the central stage. Moving the green square with your mouse will move your focus around the stage. This is useful when working with large flows. From the bottom right-hand corner of the green focus square, you can zoom in and out of the stage.
Customizing the Stage
The graphical layout of the stage and its tasks, such as the addition of gridlines, can be configured in the Stage Preferences.
Procedure
Click on the user logo icon in the top right-hand corner of your screen.
Click Stage preferences.
Modify stage settings, as displayed in the table below.
Click APPLY to effectively apply the new settings.
Section | Option | Description |
|---|---|---|
GRID SETTINGS | x axis step | Set the width of columns on the stage grid. |
y axis step | Set the height of rows on the stage grid. | |
Show grid | If selected, gridlines are displayed in the central stage | |
Snap to grid | If selected, tasks will be moved following the lines of the underlying grid. | |
TASK SETTINGS | Show Task Names | If selected, the name of each task is displayed. |
No. decimals (visualization) | The number of decimal places to visualize then there is a continuous data type. |


